

How It Works
Context7 acts as the SAML service provider. Your identity provider issues a signed assertion containing the user’s email address, and Context7 accepts it only when that email’s domain matches a domain you have proven you own.Before You Start
You’ll need:- An enterprise teamspace. SSO is not available on personal projects, and the teamspace owner must be on an enterprise plan or an active enterprise trial.
- The owner or admin role on that teamspace. Developers can’t configure SSO.
- Access to DNS for the domain your team signs in with, so you can publish a verification record.
- A SAML 2.0 identity provider. Okta, Microsoft Entra ID, Google Workspace, and any custom SAML provider all work.
SSO must be switched on for your teamspace before the setup UI appears. If you don’t see a Security tab in the steps below, contact Context7 support and we’ll enable it.
Setting Up SSO
1
Open the SAML SSO settings
In the Context7 dashboard, select your teamspace, open the Enterprise tab, and choose SAML SSO. Then open Security in the sidebar.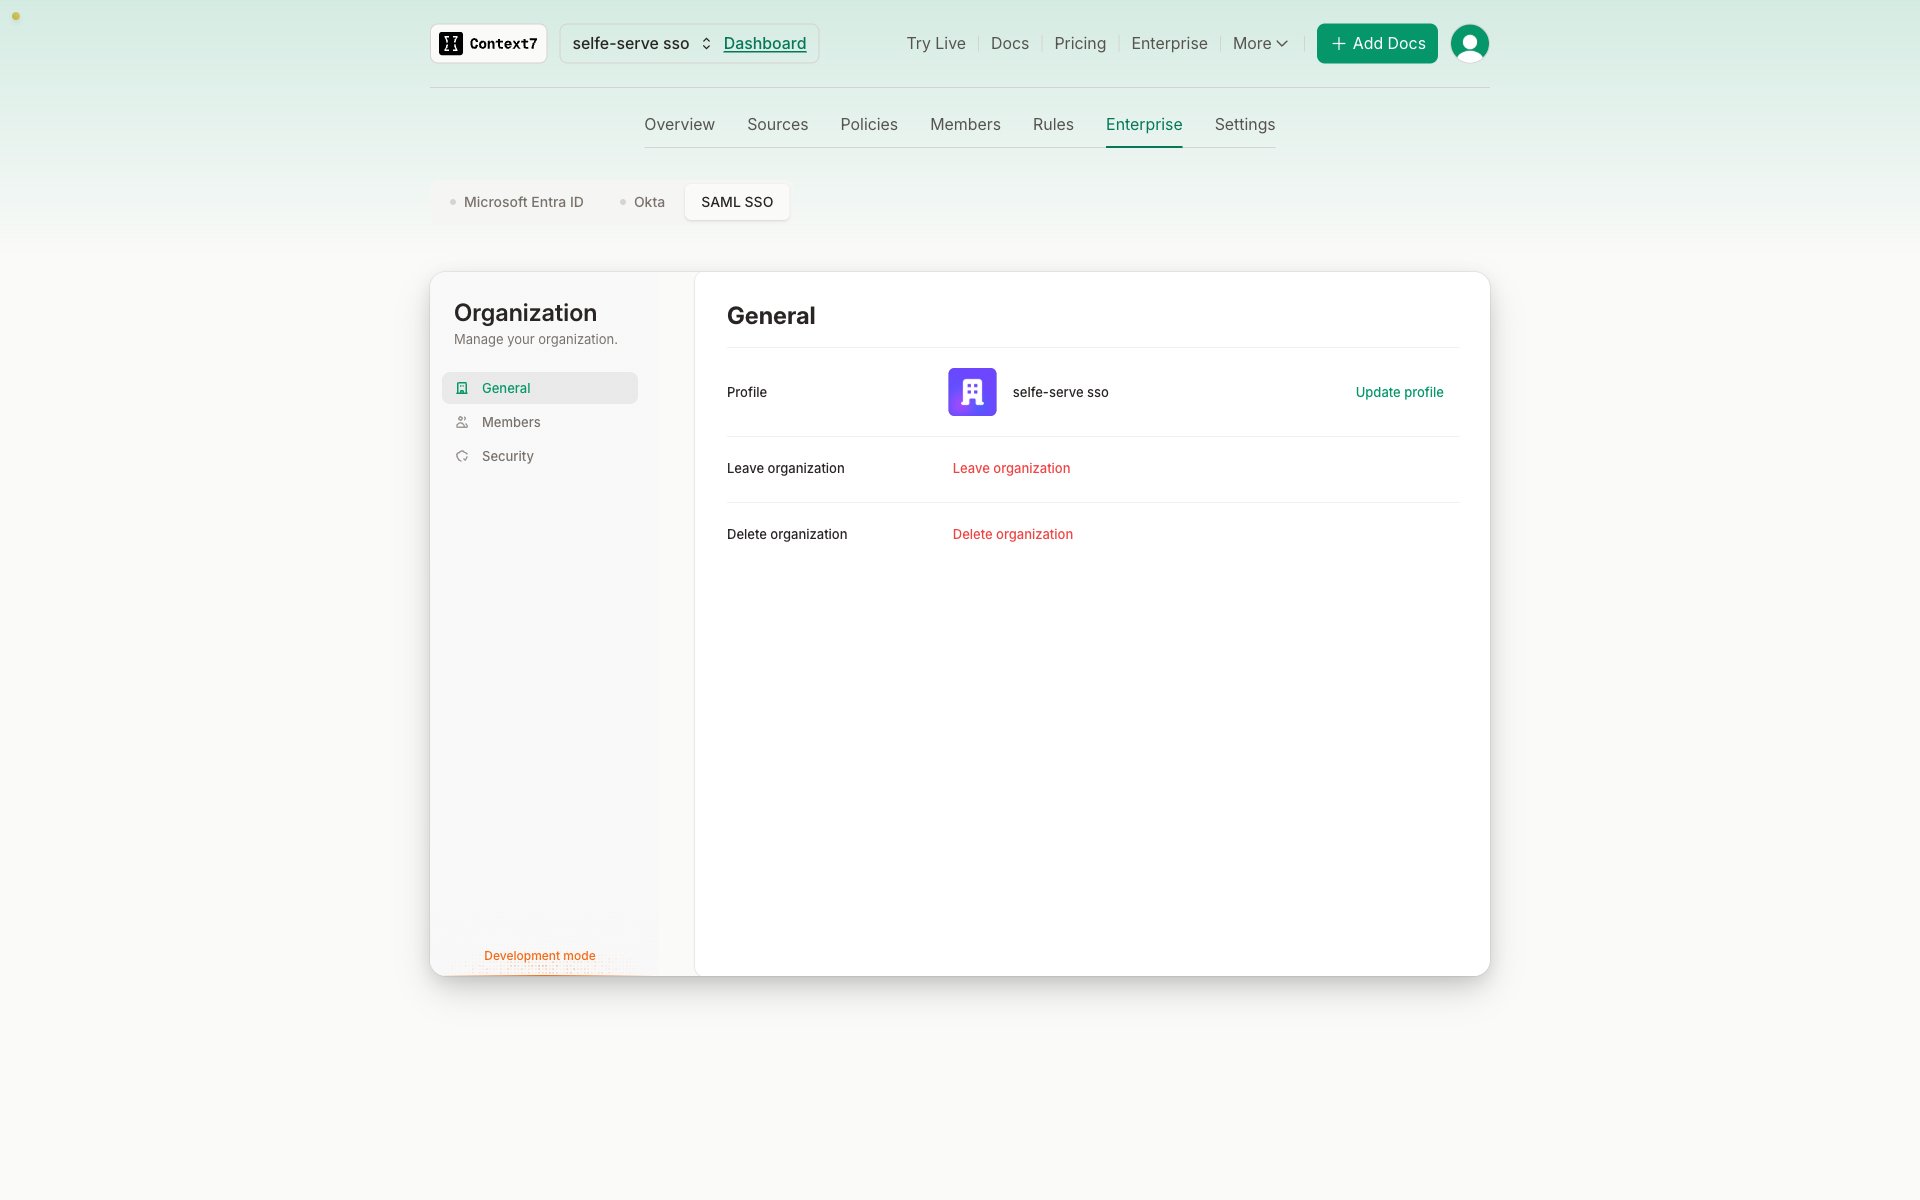
2
Add and verify your domain
Enter the email domain your team signs in with, for example 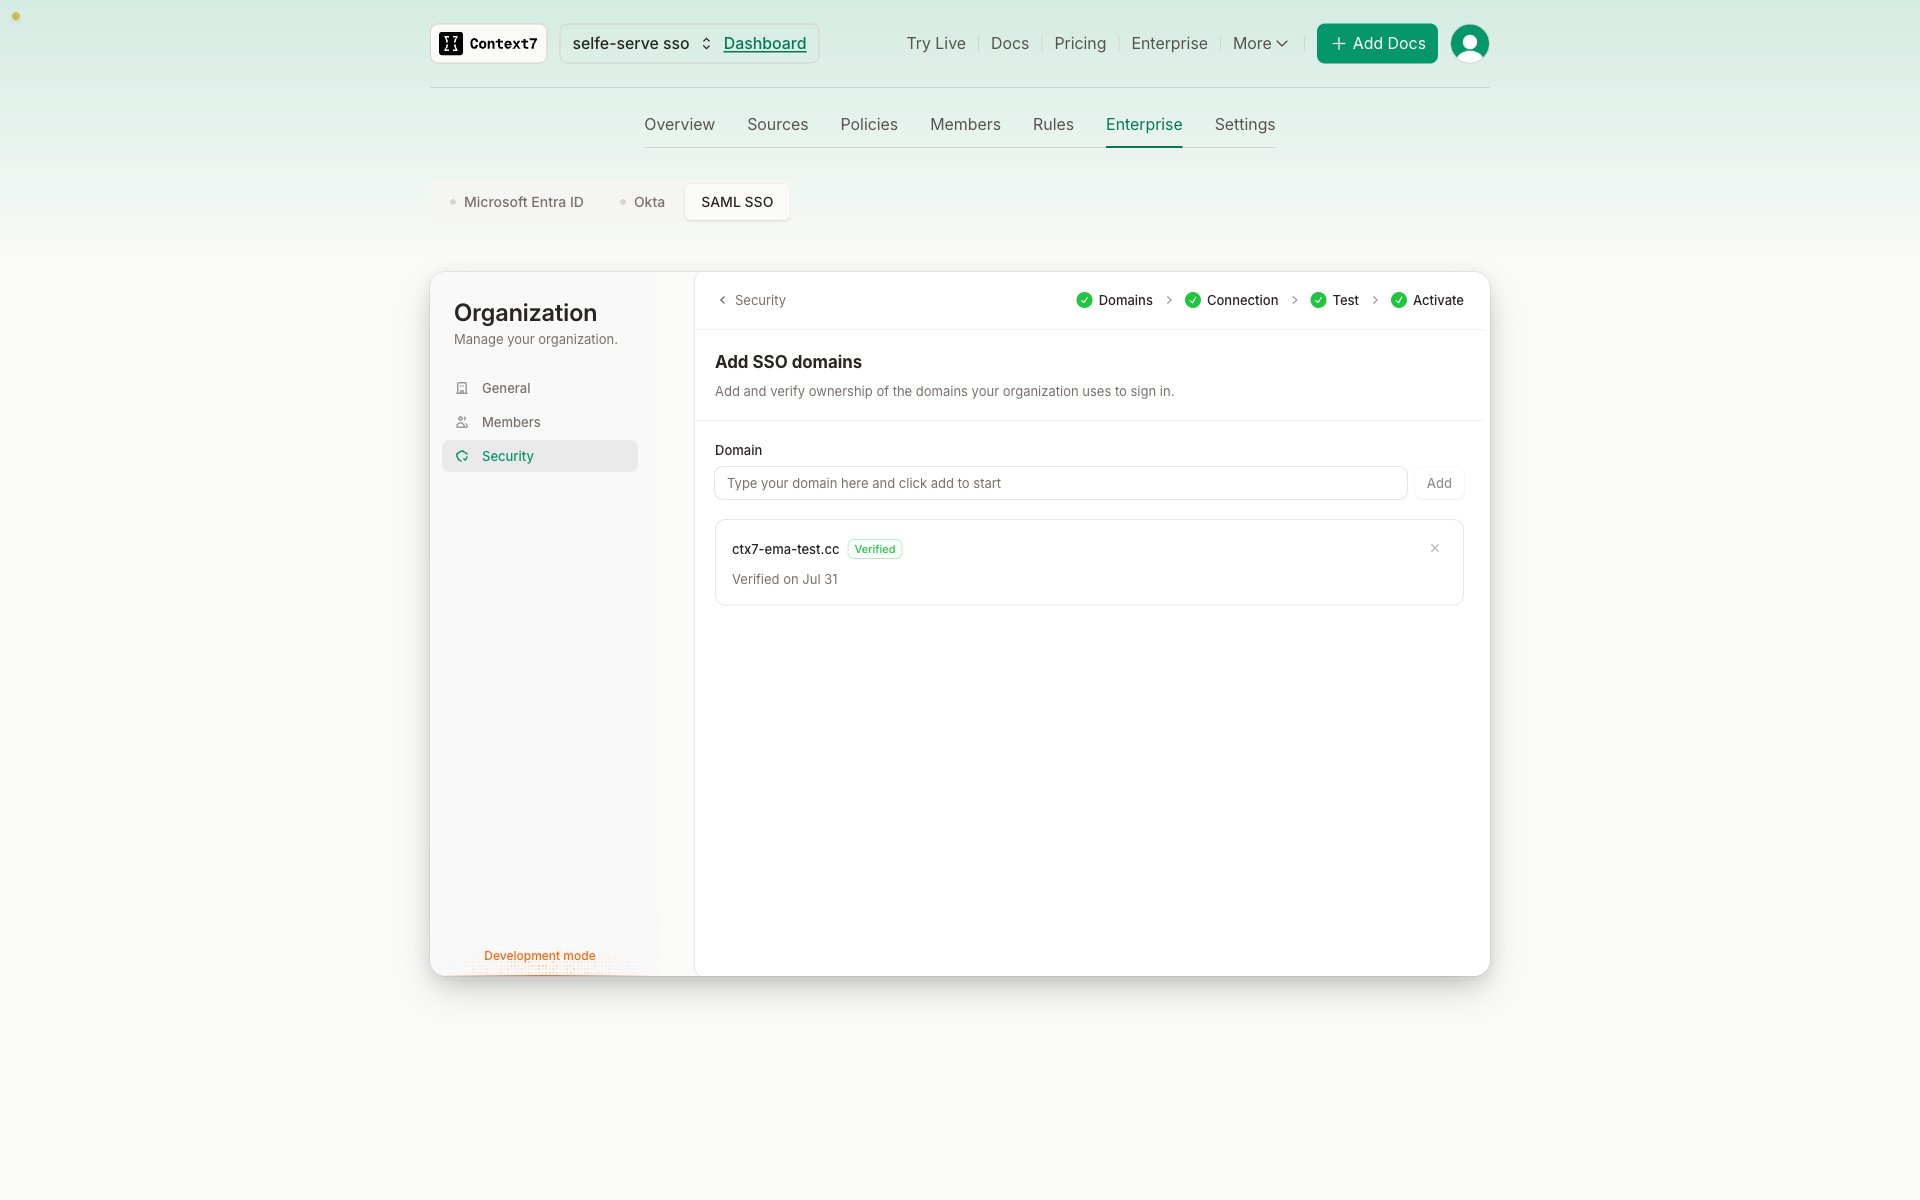
acme.com, and click Add.Context7 shows a DNS TXT record. Publish it with your DNS provider, and verification completes automatically once the record is live. Propagation is usually quick but can take up to an hour depending on your provider.3
Create a SAML application in your identity provider
Pick your provider, then create a new SAML 2.0 application in its admin console using the two service provider values Context7 shows you: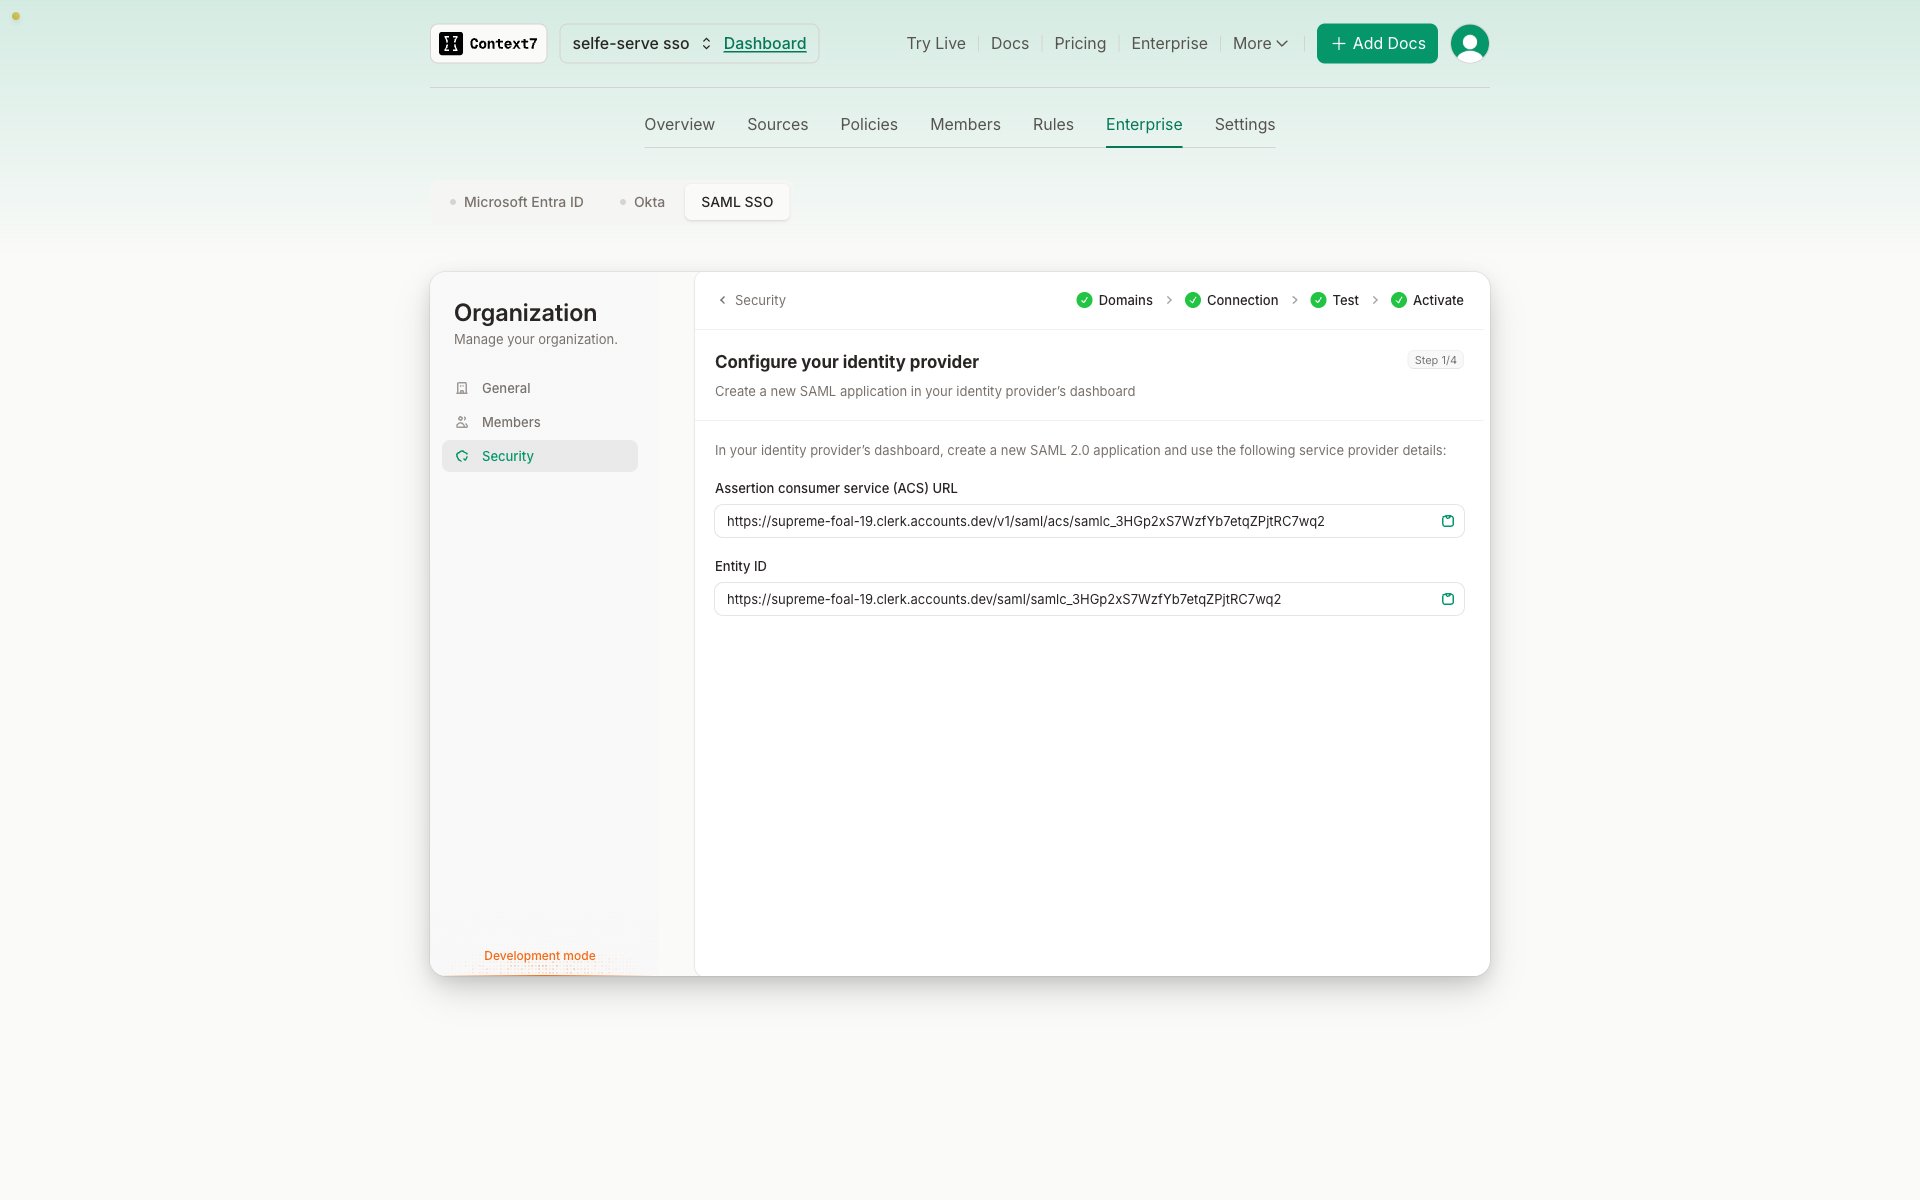
- Assertion consumer service (ACS) URL — where your IdP posts the assertion.
- Entity ID — how your IdP identifies Context7.
4
Give Context7 your identity provider details
Now supply the other direction. Two options:
- Add via metadata — paste your provider’s metadata URL. Context7 fetches the sign-on URL, entity ID, and signing certificate in one go. This is the simpler path when the URL is publicly reachable.
- Configure manually — enter the SSO URL and paste the X.509 signing certificate yourself. Use this when your metadata endpoint isn’t reachable from the internet.
5
Test the connection
Click Open test URL and sign in as a real user from your directory whose email is on the verified domain. The result appears in the log below.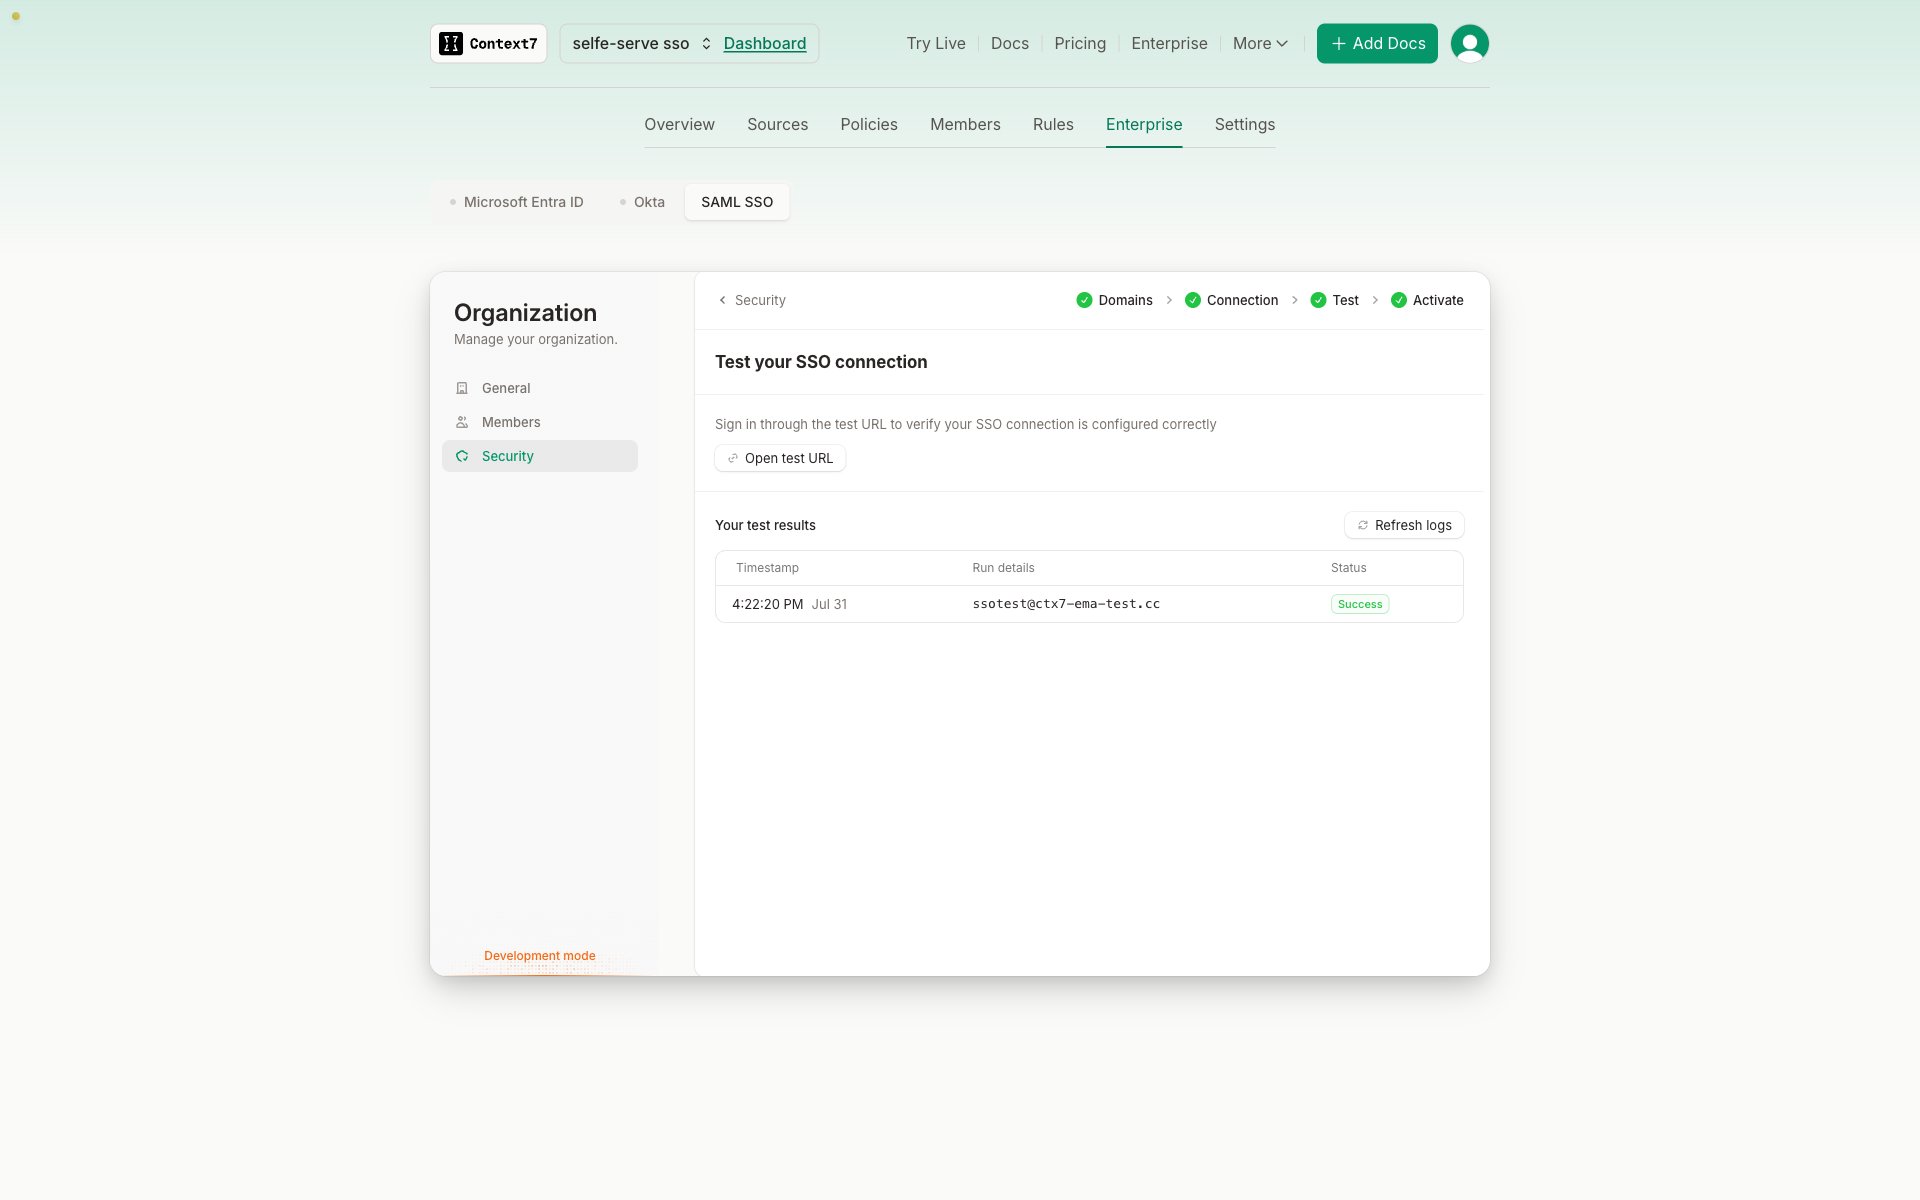
6
Activate
Activate the connection to turn it on for your team. The Security page now shows SSO Active along with the domains it covers.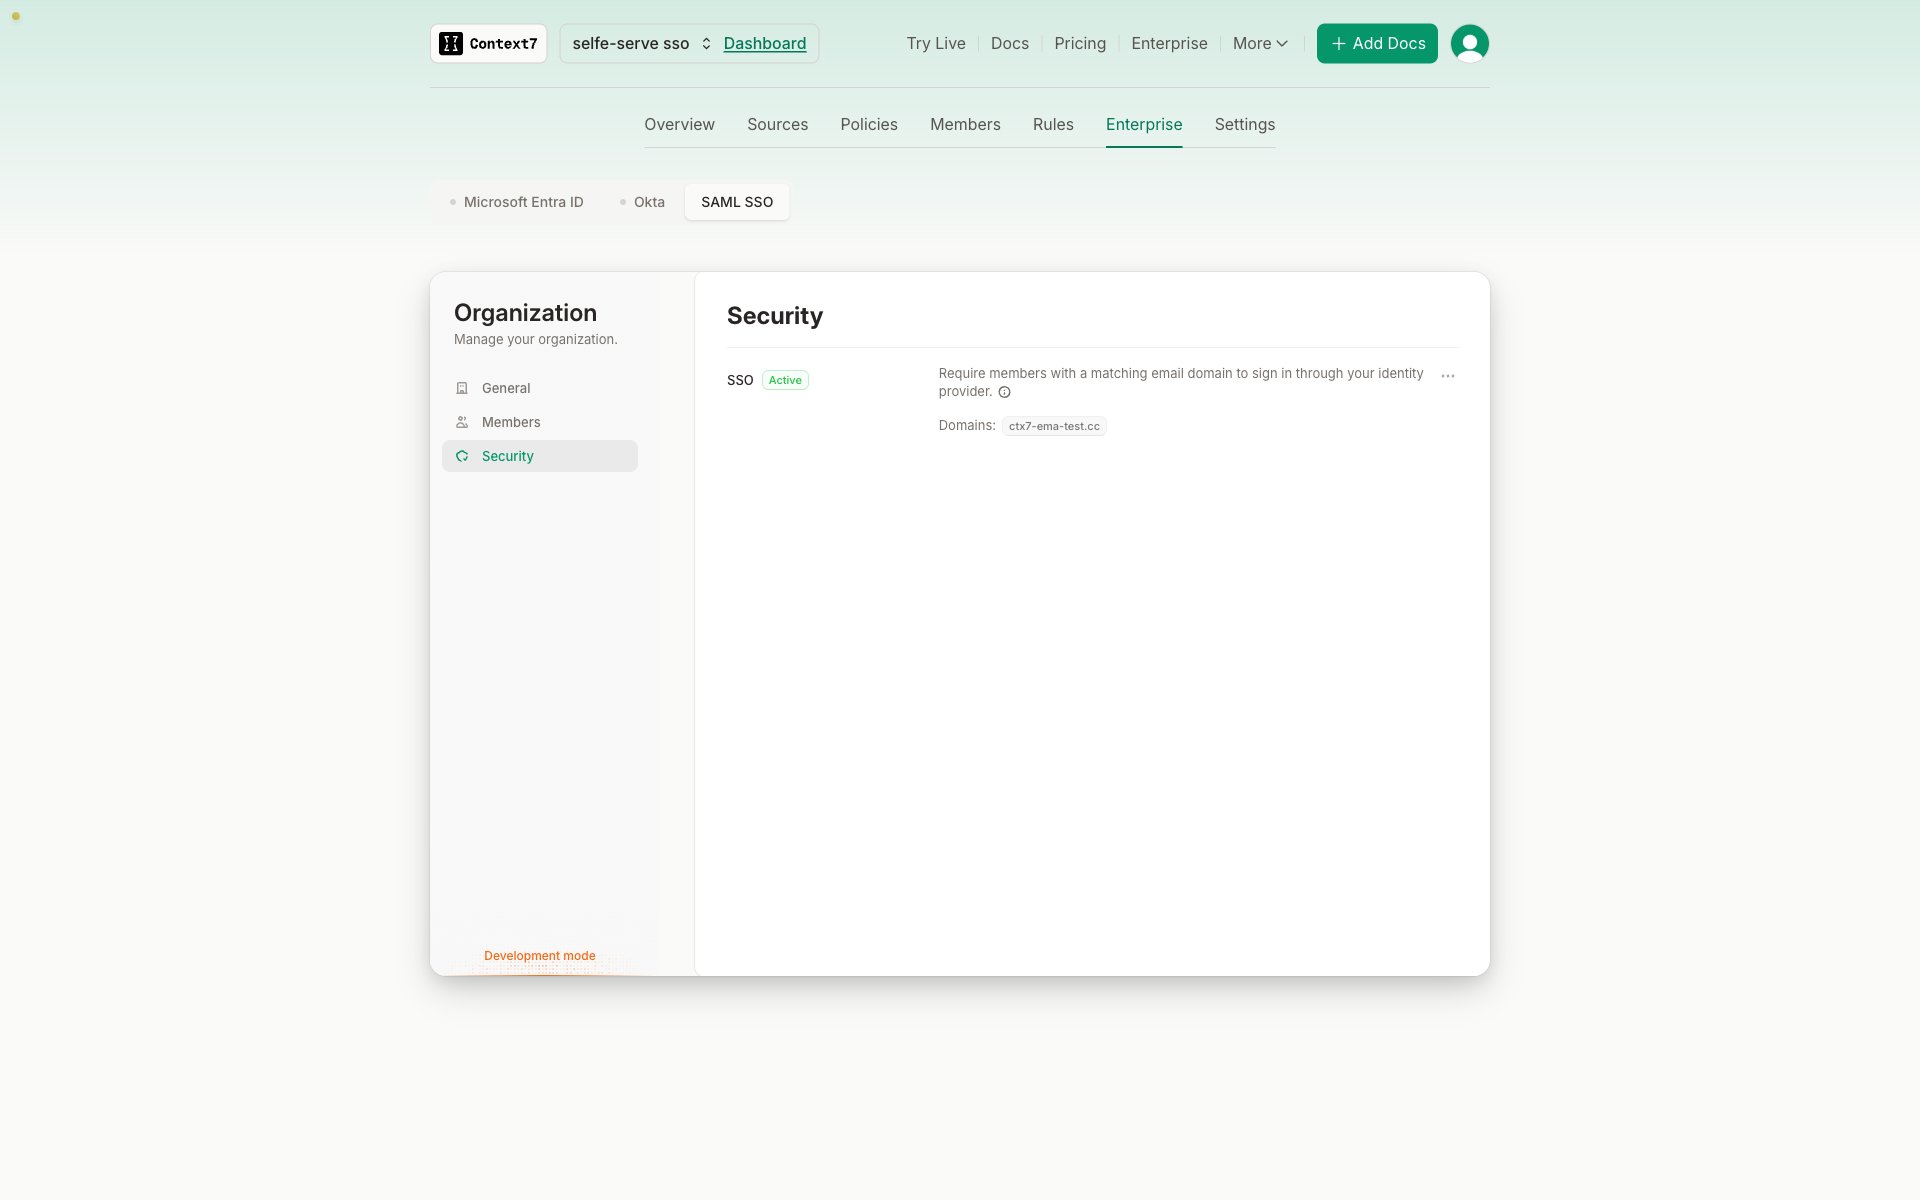
How Your Team Signs In
Users go to the normal Context7 sign-in page and enter their work email. Context7 recognises the domain and forwards them to your identity provider. They never set or use a Context7 password.SSO controls authentication, not teamspace membership. Signing in through your IdP does not by itself add someone to your teamspace. Invite members from the Members tab as usual.
Managing the Connection
The ⋯ menu on the SSO row offers:- Edit — revisit any step, including adding more domains.
- Deactivate — stop routing users to your IdP without deleting the configuration.
- Remove — delete the connection entirely and release its domains.
Troubleshooting
“Domain Mismatch” after signing in at your IdP The email address in the assertion isn’t on a verified domain. This is the expected behaviour when, for example, a test provider issuesuser@example.com while your connection covers acme.com. Sign in as a user whose email is on the verified domain, or add and verify the other domain.
“We failed to fetch the IdP metadata”
Context7 fetches this URL from its servers, so it must be publicly reachable. Check that you pasted the metadata endpoint rather than the sign-on endpoint. They are different URLs, and the sign-on endpoint returns an error for a plain request. If the endpoint is internal, use Configure manually instead.
The Security tab isn’t there
Either SSO hasn’t been enabled for your teamspace yet, or you’re signed in as a developer. Confirm your role, then contact support.